I admit that the title of this article might sound a bit like it belongs more in Golf Digest than it does in the Tree Line, but bear with me a bit. What we seek is not for ourselves, but rather for our trees. This article is all about how to wire our trees and protect our precious branches from being savagely ripped from their sockets. Learning how to wire well may seem like a daunting task, but it really rests squarely on a few simple principles that are then applied with careful consideration.
That said, this article is not about the basics, though you will see them peeking through at times. My attempt here is to convey a very simple concept that took me hundreds of hours and too many damaged or detached branches to learn. That principle, is that I must at all costs protect the shoulder of every branch I intend to bend. I need to support the branch in such a way that it can’t possibly get damaged in the styling process.
Low and behold, when I do that, the branch is very secure and can be bent into any reasonably desired position and it stays there. No wobbling or bouncing back up. It is very gratifying to wire and style a branch and have it resolutely stay in the exact position intended, and stay there until it is time to remove the wire.
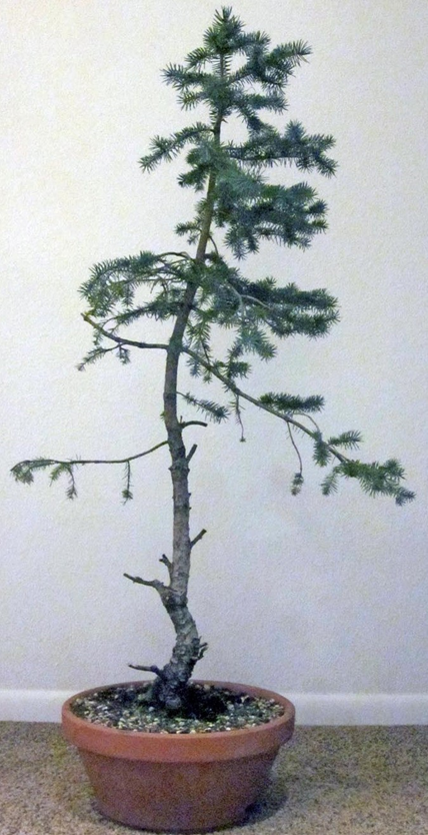
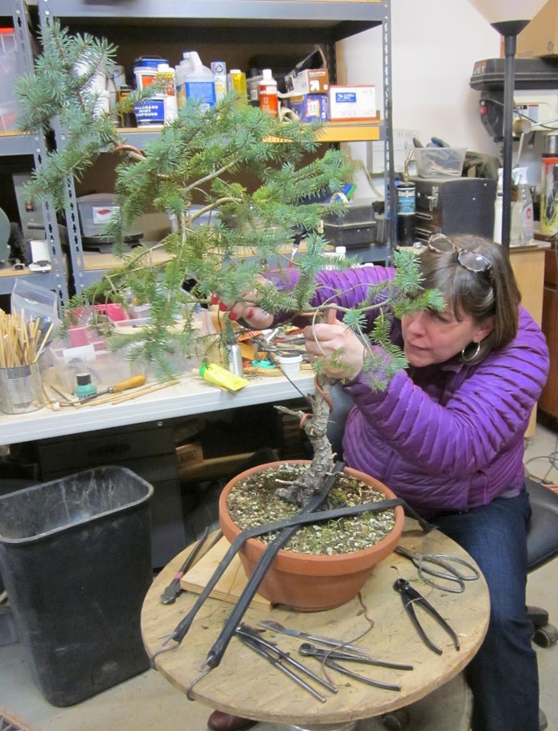
The following is a bit of a photo essay as I wire up a spruce branch that I snipped from a garden tree. This is not an actual bonsai branch, but is of a very appropriate species and scale. Also, I must note that it is styled as an alpine branch similar to most elongating species in that it is very narrow instead of broad like many pines, etc… That is a matter of personal taste. I also did not wire every little branchlet. The point here is the fundamentals and that wire would be applied the same way whether it was a spruce, pine, or maple.
Figure 1. The Spruce branch before any work has been performed. Lots of possibilities here.


Figure 2. The branch after cleaning off the old needles and pruning to alternating branchlets. This is standard procedure. I stop pulling needles when they don’t come of easily, so you will see different amounts on different branches.
Figure 3. The primary structural wire with a few bends already in place. Always style as you go, before applying any more wire. This allows you to determine the best course for the next wire. Note that I stop with copper wire on a conifer about the time the diameter of the wire equals that of the branch.
Because I know that I am going to be applying wire to the rest of the branches, I confidently know that I will have a smaller gauge to more delicately wire out to the tip. The purpose of this structural wire is not only to bend the main branch, but also to create a strong spine that supports the secondary wiring.


Figure 4. Now that I have the primary wire in place, I begin to apply secondary wire starting from the tip and working in. Since all of the branches are of a similar size, this works great. If some were larger than others, I would start with the largest first.
Here you can see that I am pairing a side branch together with the tip, using at least two turns of the primary wire to support and lock in the secondary wire. Note that I leave the wire long to aid in styling, then trim it when I am done. It really helps to have the longer length to help guide the wire around all those needles.
Figure 5. This is a close up of the previous photo showing how the secondary wire is applied parallel to the primary wire. Always. Notice how the secondary wire crosses over the top of the branch fork and makes first contact with the secondary branch on the outside of the fork, closest to the trunk. The wire is also going outside of both branches without crossing over the primary branch.
No matter how much you bend the secondary branch, the wire stops you from going too far. Since we want acute angles, it is not so much of a problem here, but there are many situations where the desired direction is in direct conflict with the main branch, so the secondary branch must be well supported.


Figure 6. Now we start pairing other branches together. We apply the wire starting on the secondary branch closest to the trunk. I like to start with a few wraps of wire on the branch that already has wire – the primary branch in this case, so that it is properly anchored before moving out onto the more vulnerable secondary branch. Once the wire is secured, I move out onto the first branch, closest to the trunk.
Our junction is very similar to the first branch we wired. I follow my rules and parallel my wire along the primary wire and move out to the second branch in the pair. However, as we reach the second branch, we see the gap between the wire and the main branch, giving us a clue that this branch is unsupported with the present configuration.
Figure 7. If we continue to wire the branch and start to bend, this is what can happen. Total disaster. This is especially a problem when you are using a heavier gauge wire (note that this branch is a little smaller than the first one in the pair) than is required for that branch. Yikes! I have done this way too often.


Figure 8. Here is the alternative and my preferred situation. I cross over the main branch. Gasp! I know that breaks the main tenets of clean, aesthetic wiring. But I am more concerned about my branch at this point. Also, I will only do this with secondary or tertiary wiring. Never, never with primary, structural wire.
The gauge that crosses over is always one or more gauges smaller than the primary. But as you can see, the branch is now fully supported, meaning that I can move it into just about any position desired and it will not break off.
Figure 9. Here we see the third pairing of secondary branches. In this case, I actually started by crossing my secondary wire in order to support the branch. As I finished onto the second branch of the pair, I was able to land on the shoulder of the branch in a perfectly supporting manner. That makes this configuration just the opposite of the first instance.
Actually, that second pair of branches would have been better supported by crossing the first turn of wire also. But this shows you the variety of ways that the technique can be applied and in what situations.

Figure 10. Here is the finished branch, wired and styled.

I hope that all of these made sense to you. If they don’t, take another look and read carefully. It will give you a lot more confidence in your wiring and thus, your styling of trees. There is a very simple rule that can be applied here.
Always enter the shoulder of a branch from the trunk side of branch.
This automatically puts you on the outside of the branch, supporting it, but you may have to cross a wire to accomplish this. Happy wiring!
Scott